Fisheye special features (NVR web interface)
Warning: Underpowered cameras cause serious performance issues. The Luma x20 Fisheye camera performs best with the x21 and high capacity Luma x20 NVR series.
Luma x20 fisheye cameras have the following special features:
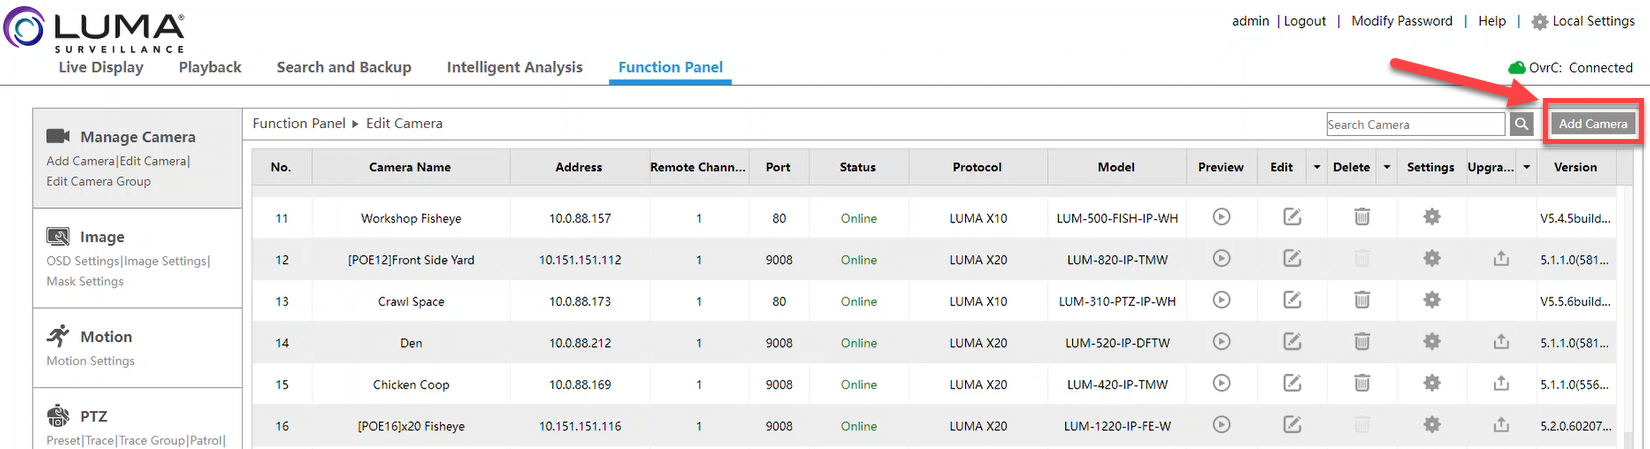
1. Click on Function Panel > Edit Camera.
2. Click on Add Camera.
3. Click on Add Manually.
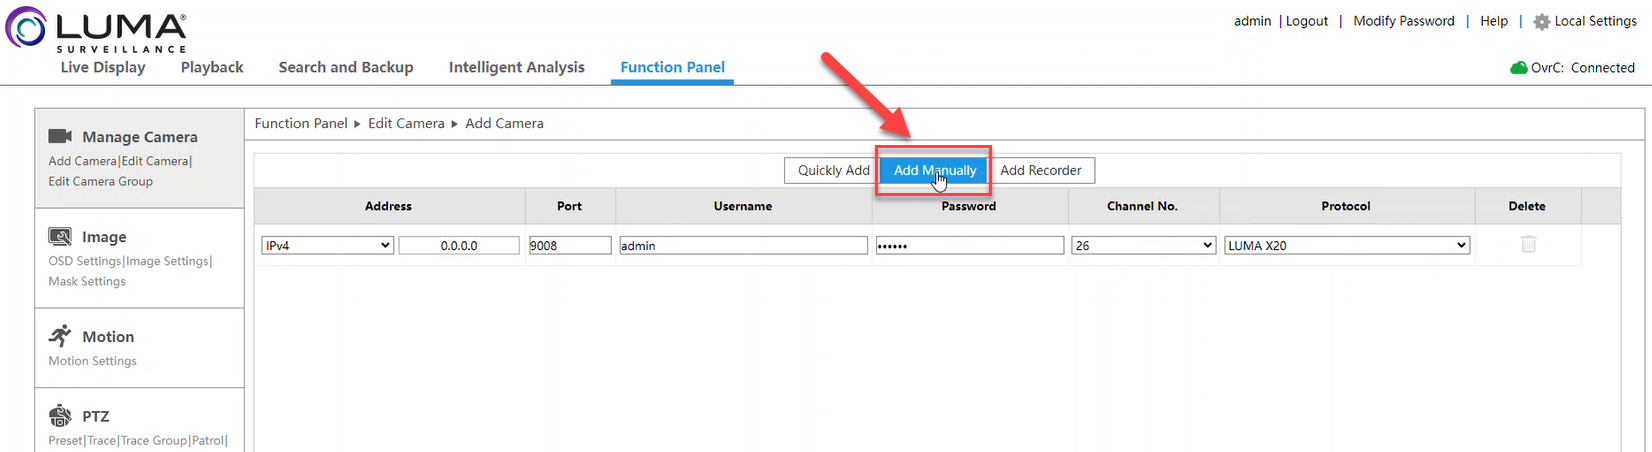
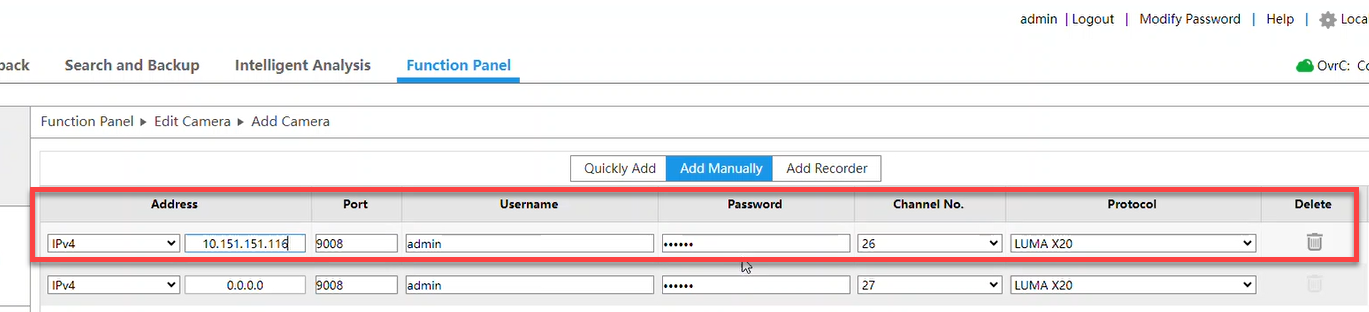
4. Enter the camera's IPV4 Address, Username, and Password.
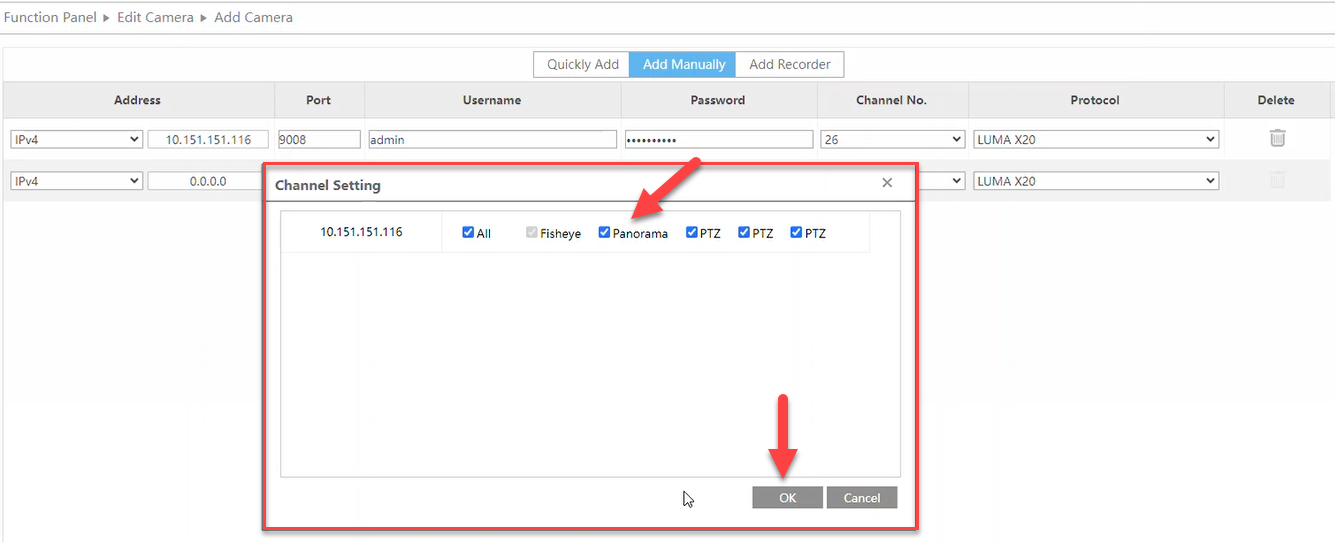
6. Choose the Channel Setting and click OK.
See basic Live Display features and navigation here. Continue for Fisheye special features.
Note: In the NVR interface, set the Installation Mode and Display Mode via Live Display > Fisheye before viewing the live image. The root Fisheye camera must be selected in the Camera list in the left flyout panel.
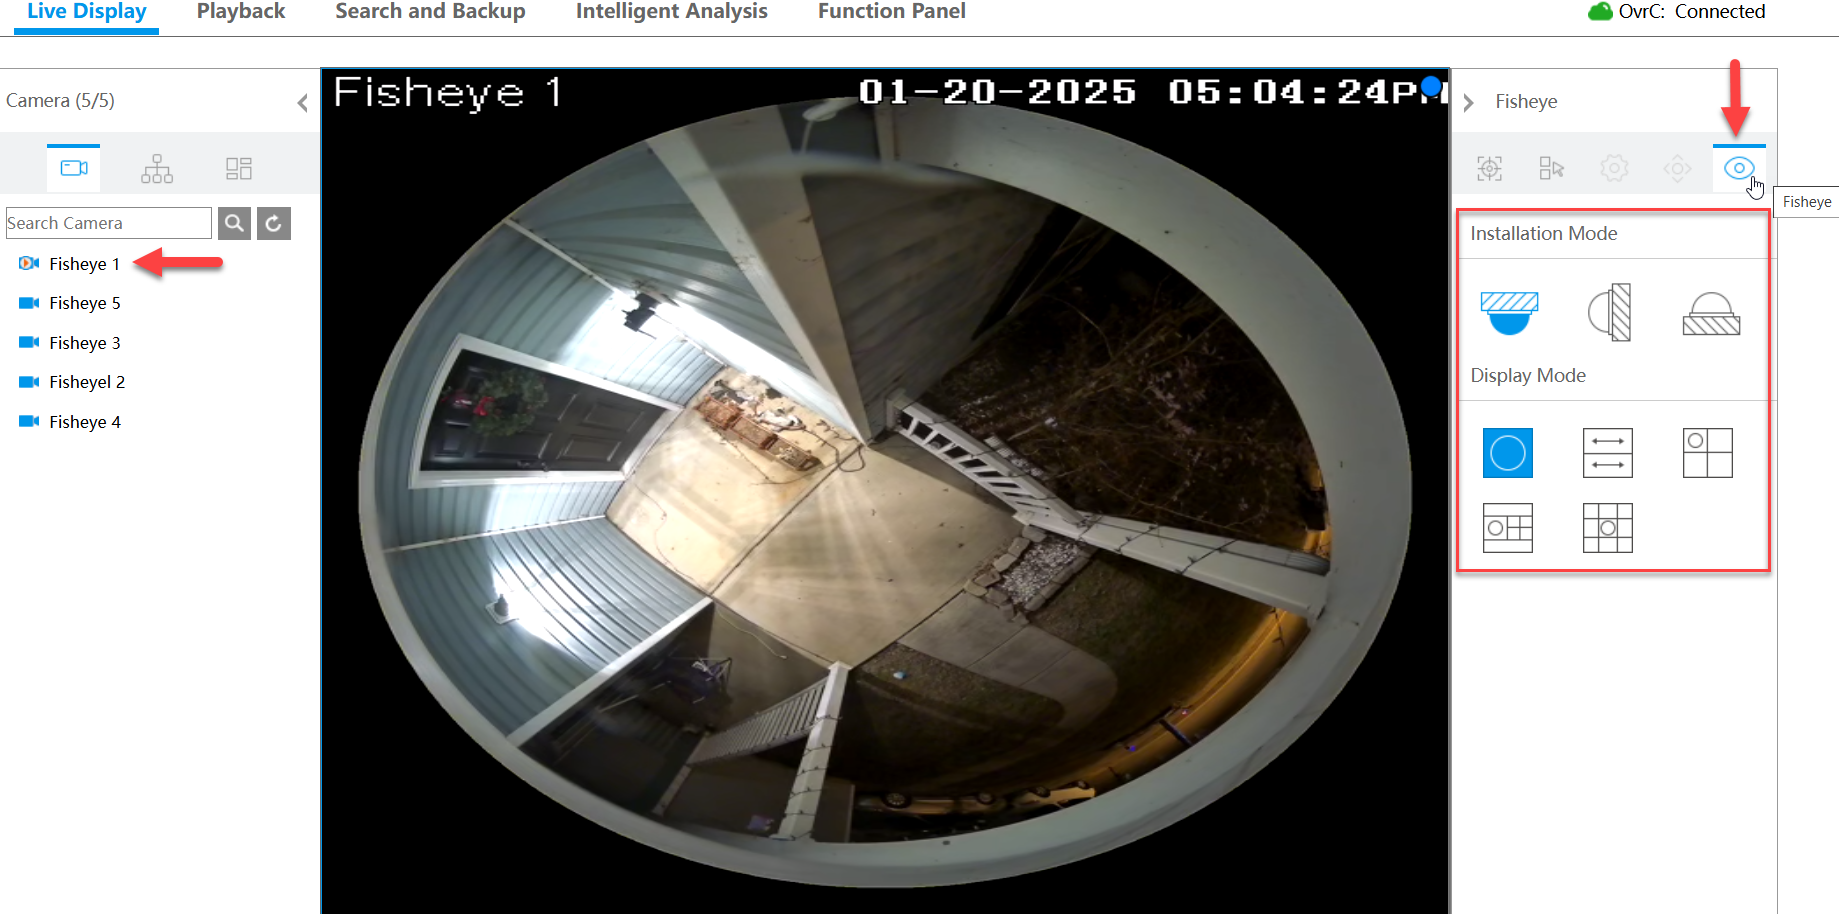
Choose the Installation Mode based on the physical installation of your camera.
-
Ceiling

-
Wall

-
Desktop
 .
.
Warning: If your camera is wall mounted, ePTZ controls may not behave as expected. This will be resolved with a future firmware update.
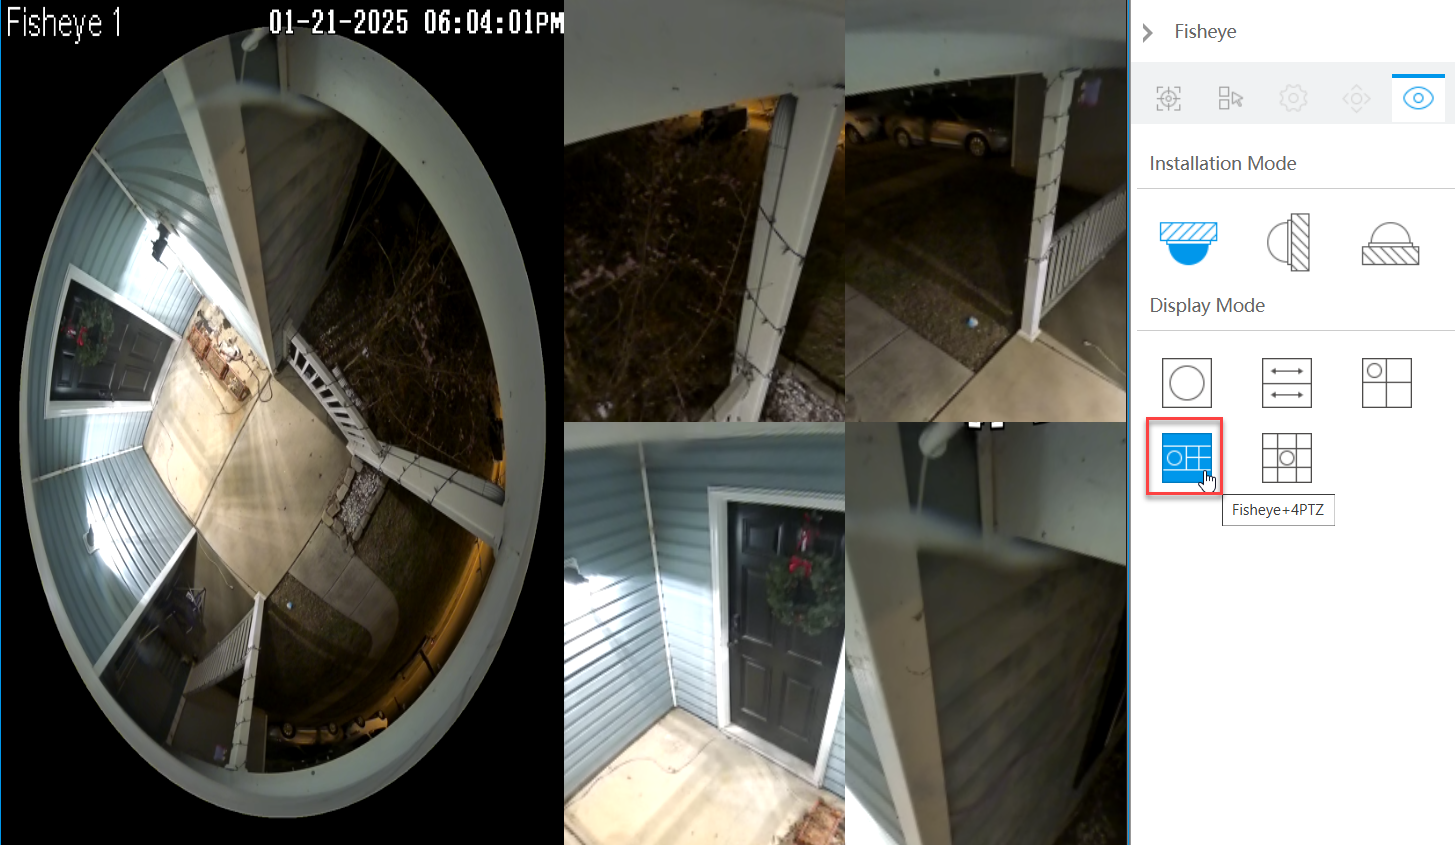
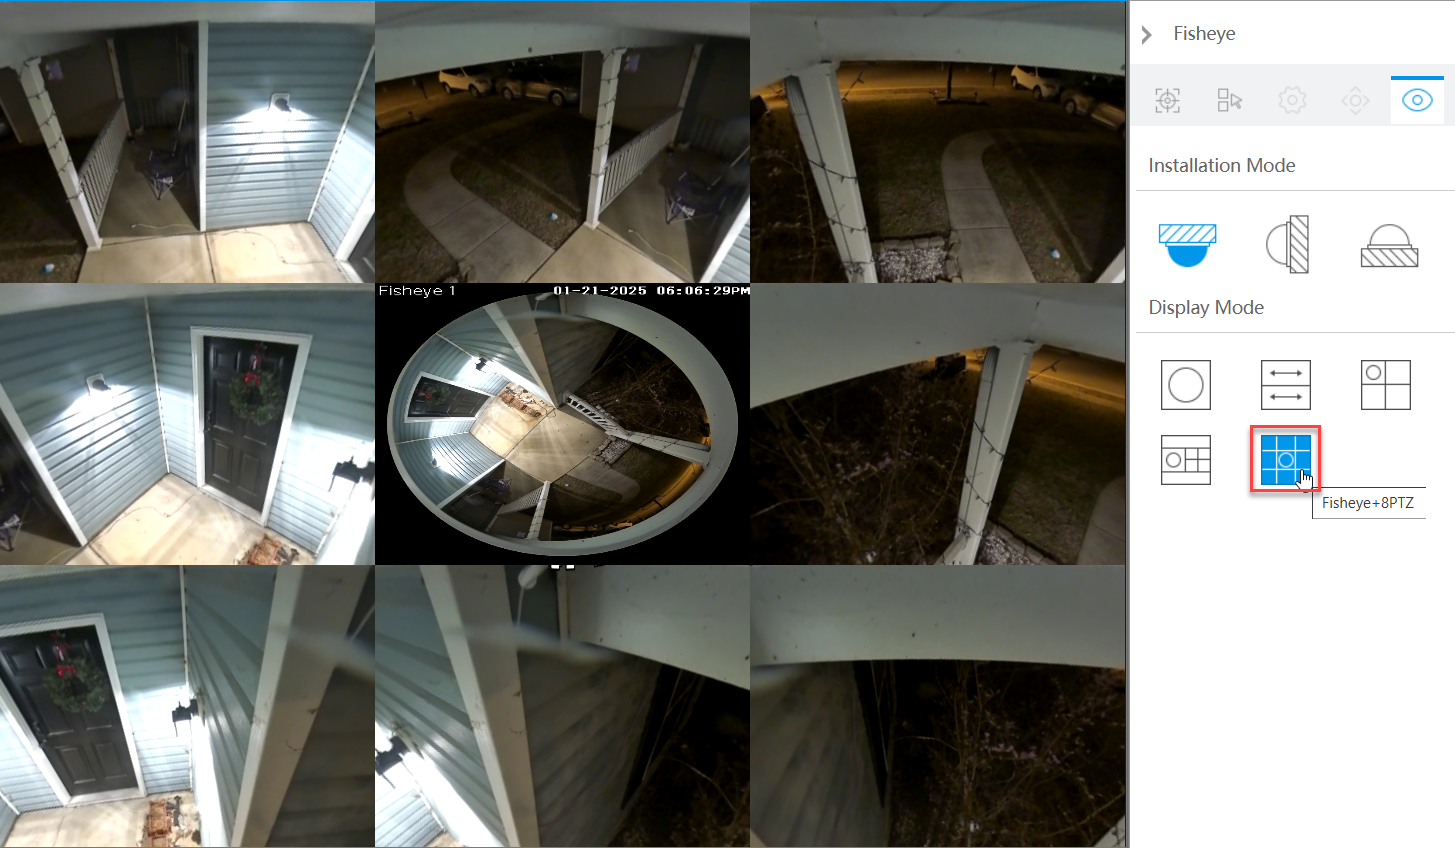
The Display Mode provides a variety of live viewing formats.
 Fisheye
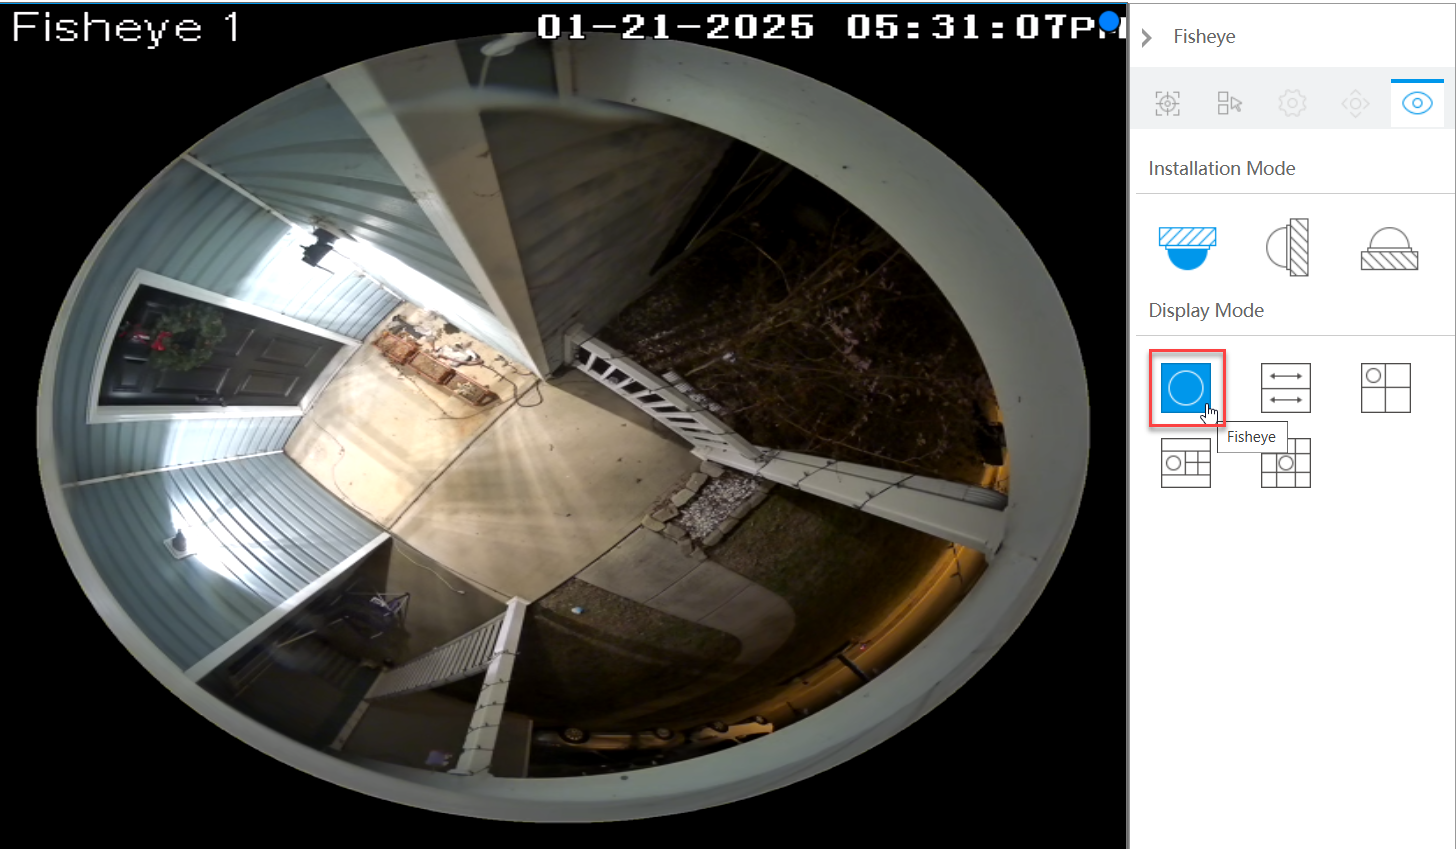
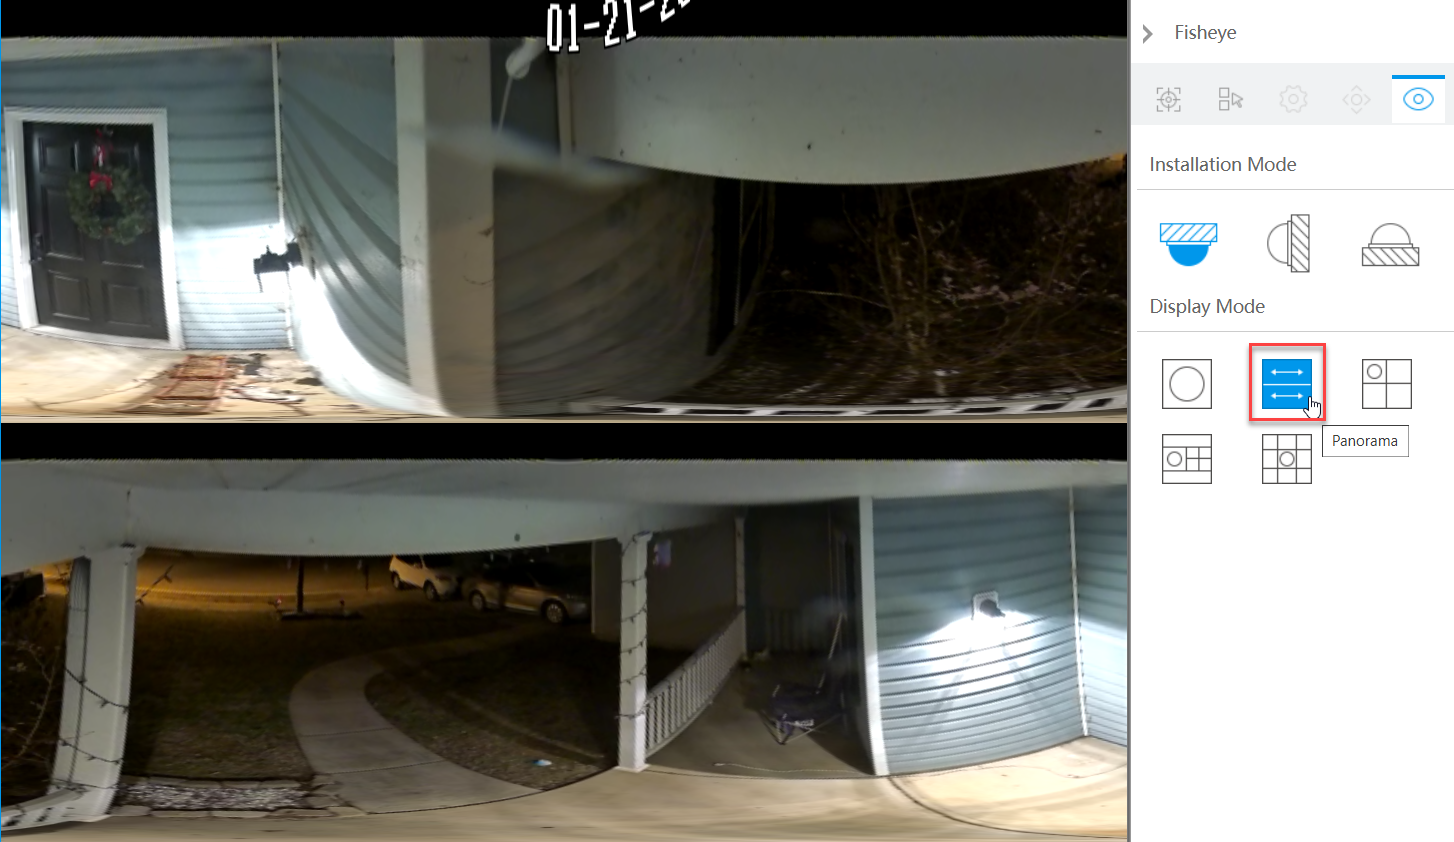
 Panorama (Ceiling and Desktop Installation mode only)
 180° (Wall Installation mode only)

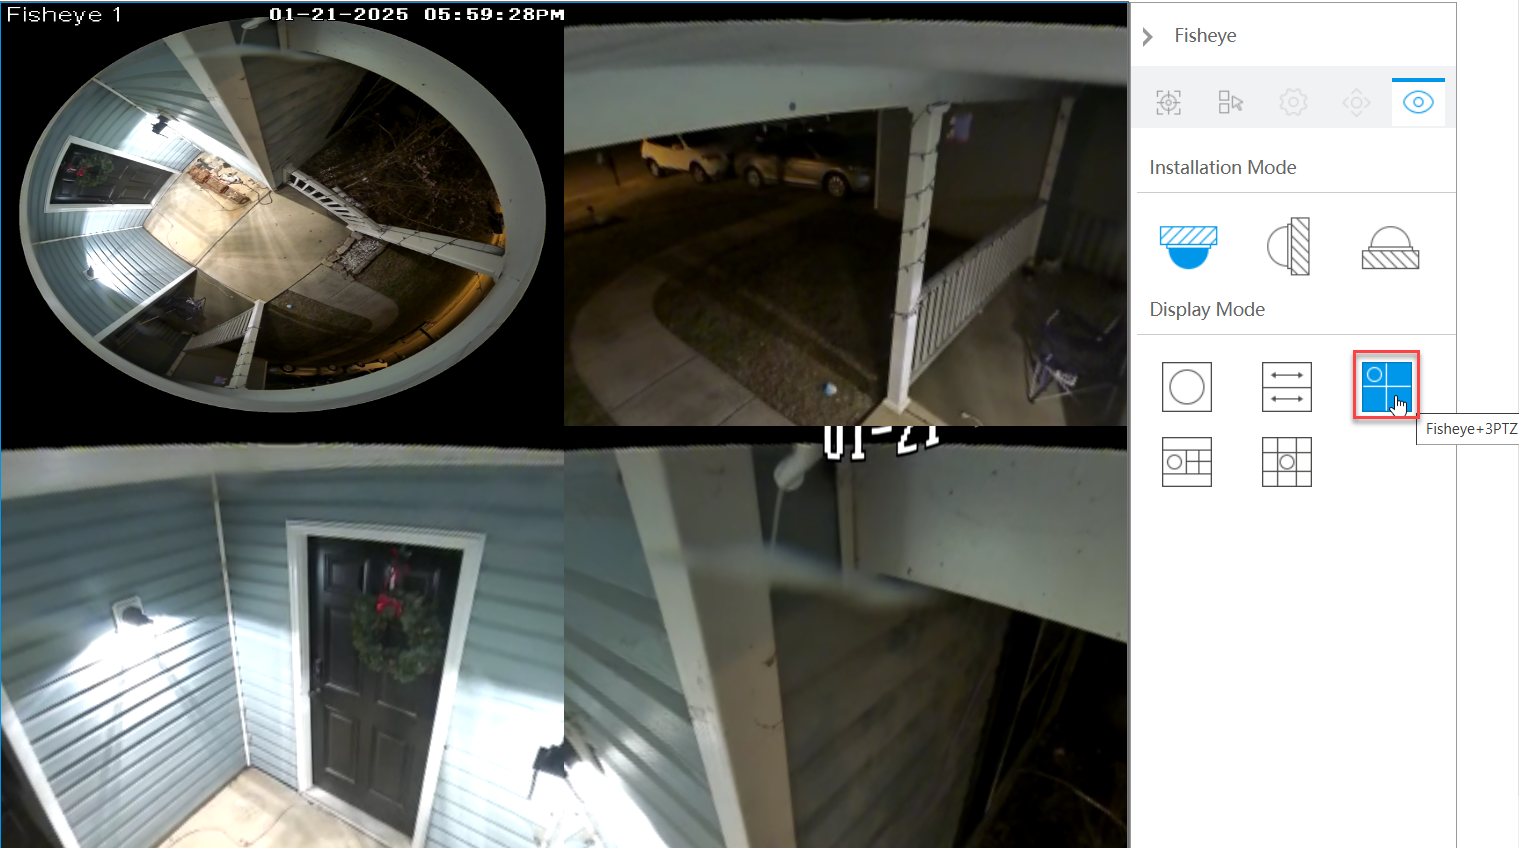
 Fisheye + 3PTZ
 Fisheye+ 4PTZ
 Fisheye + 8PTZ
Caution: If integrating with Control4, use the Luma fisheye driver to access fisheye special features.
See all fisheye special features here.